A hand span from your mouth, headphones on, and the room quiet.
Before the editorHow to record a reaction video
How to record a reaction video
with OBS, a clean voice and no echo
Record two separate files: the video you react to, and yourself on a webcam and microphone while you watch it on headphones. In OBS that is one scene with your camera and your microphone, the computer’s sound muted, recorded as MKV. Both files then go straight into the editor.
Across the desk, on speakers: thin voice with the film bleeding into it.
- Headphonesthe video stays out of your voice
- Desktop Audio mutedthe recording carries you and nothing else
- MKVsurvives a crash, opens directly in the editor
The kit
What you need
Nothing here costs money except the microphone, and a laptop one is fine to start.
The video, as a file
The original file is sharper than any screen recording and smaller too. Where to get it, and what the copyright rules mean for it.
A webcam
The one built into a laptop works. Light matters more than the camera: a cheap webcam in good light beats an expensive one in the dark.
A microphone
Any USB microphone sounds better than a laptop’s. The automatic cut listens to it, so a clear voice is worth more than a sharp picture.
Headphones
Not optional. Through speakers the microphone records the video too: an echo you cannot remove, and cuts that fire on the video instead of on you.
OBS Studio
Free, for Windows, macOS and Linux, from obsproject.com. Any other recorder that saves a video file works too.
A light in front of you
A window or a lamp behind the screen, facing you. A light behind you turns your face into a silhouette.
Set up once
One scene in OBS
The recording should carry your picture and your voice, and nothing else.
- 1Your cameraSources → + → Video Capture Device, pick your webcam. In its properties choose 1920x1080 if the camera offers it.
- 2Your microphoneSources → + → Audio Input Capture, pick your microphone.
- 3Mute the computerIn the Audio Mixer, mute Desktop Audio. The video’s sound already lives in its own file; recording it again only puts it under your voice.
- 4Picture settingsSettings → Video: set the base and output resolution to your camera’s, and 30 frames per second.
- 5Recording formatSettings → Output → Recording: MKV, and note the recording path so you can find the file later.
What the cut listens to
Audio the automatic cut can read
The editor finds where you talk from how loud your microphone is. A voice that stands clearly above the room gives clean cuts; here is how it decides.
Talk the way you will during the reaction. Your voice should peak in the yellow part of the OBS meter and never reach the red.
Right-click the microphone in the Audio Mixer → Filters → + → Noise Suppression. It takes out fans and hum, which lowers the room under your voice.
A hard gate cuts the start of soft words. The editor already measures your room, so a gate is rarely needed.
If the video’s sound did get into your recording, pull your voice out as its own file; the guide shows how with VLC.
Think about the finished frame
Framing for the layout you want
Where you sit in the camera decides which of the two layouts will look right. You can use both in one project, so frame for the one you will use most.
The video fills the frame, you sit in a shape
Your camera ends up small, in a circle or another of nineteen shapes. Frame head and shoulders, centred, with a little space above your head, so the shape crops to your face and not to your chin.
You fill the frame, the video sits beside you
The video plays in a window on your camera’s picture. Sit a little to one side and leave the other side empty, so the window has somewhere to go that is not your face.
A busy room is fine: the editor can remove the background behind you, so you stand in front of the video instead. See the template sets for both layouts on real frames.
Two minutes that save an evening
A twenty-second test
- 1Record twenty secondsSay a sentence, stay quiet for five seconds, say another. Play something through your headphones while you do.
- 2Play it backYou should hear yourself clearly and not hear the video at all. Your face should be lit and sharp.
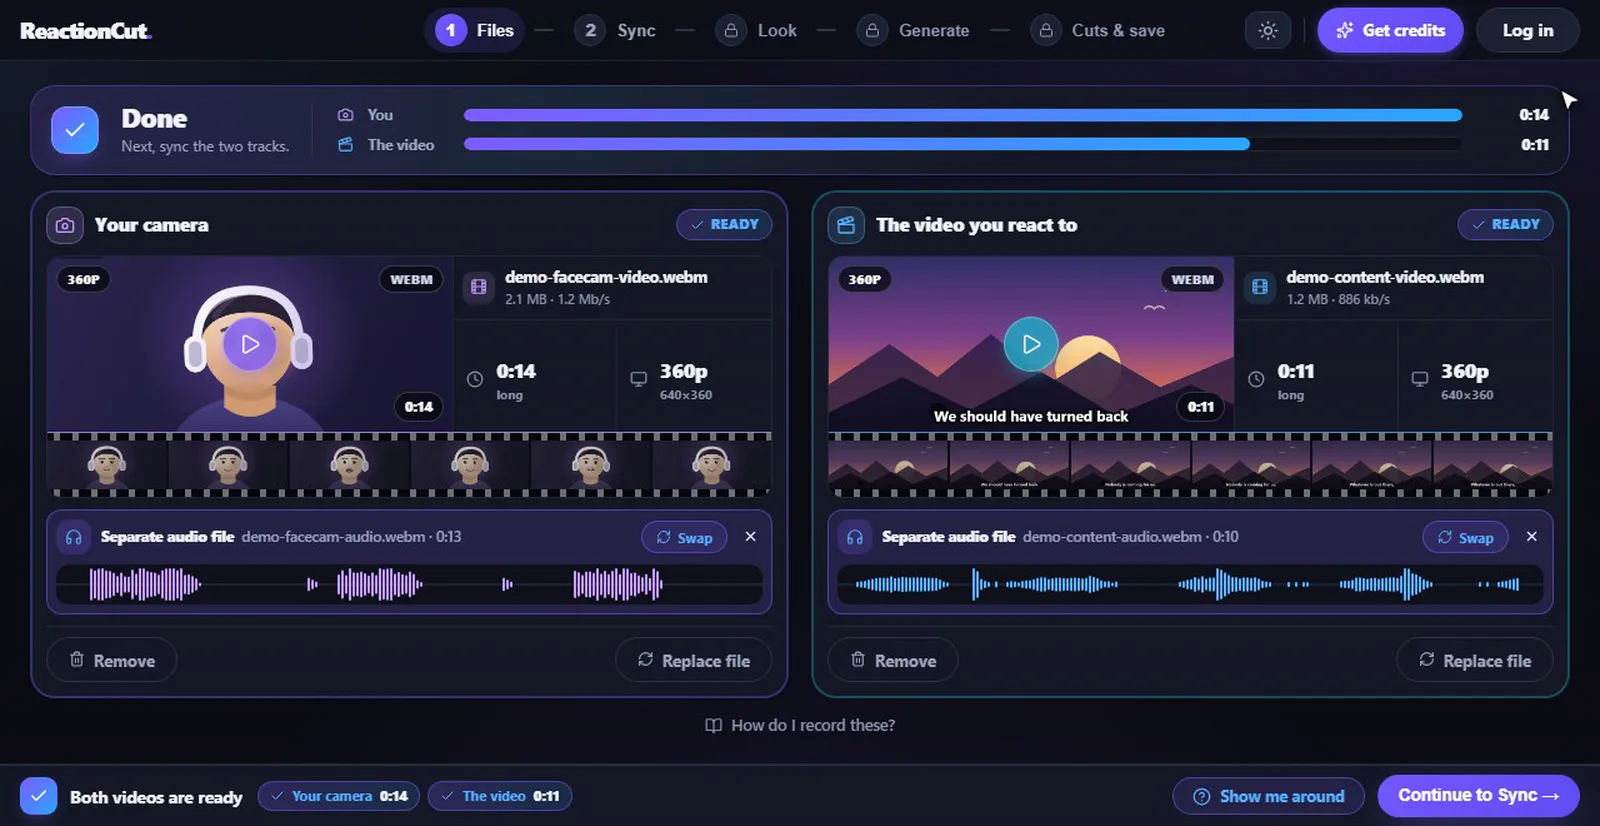
- 3Drop it into the editorOn the Files step, your waveform should show the two sentences as clear bumps with a flat line between them. That flat line is what the automatic cut needs.
The real take
Recording the reaction
- Start recording in OBS first, then start the video
- Clap or say something on the video’s first frame: it makes syncing a two-second job
- Let the camera run to the end. Trimming later is one drag; a missing minute is a re-shoot
- React out loud: the cut follows your voice, and a silent reaction is a quiet clip
Next: line the two recordings up, then let the automatic cut do the first pass.
Learned the hard way
Mistakes that cost a re-shoot
The video ends up inside your voice, and it cannot be taken out afterwards.
Same result by a different route: the computer’s sound is recorded under you.
The camera exposes for the bright window and your face goes dark.
An hour of 1080p camera is several gigabytes. Check before a long watch; MKV at least keeps what was recorded.
Questions about recording
Do I need OBS?
No. Anything that saves a video file works: a phone, the camera app on your computer, a camera with a card. OBS Studio is free and lets you choose the microphone, mute the computer’s sound and clean up noise, which is why it is the one we describe.
Should I record my screen and my camera into one file?
Not for this editor. One file with both bakes a layout in, and then there is nothing left to switch when you talk. Keep two files, your camera and the video you watched, and the editor builds the layout and the cuts for you.
MKV or MP4?
MKV. If the recording stops early, from a crash or a full disk, an MKV keeps everything up to that point and an MP4 can be lost whole. ReactionCut opens MKV directly, so there is nothing to convert.
What resolution should my camera record?
1080p at 30 frames per second is plenty for a face. The finished video follows the resolution of whichever recording fills the screen, up to 4K, so the video you react to decides the sharpness of most of the frame.
Can I record on my phone?
Yes. Record yourself on the phone, move the file to your computer, and add it as your camera. Watch the video on headphones connected to whatever is playing it, so its sound stays out of the phone’s microphone.
Recorded? Put it together.
Add your two files to the editor, or try the demo project first. Nothing is uploaded.
Open ReactionCut, free